Posted on Sunday May 24, 2026

I've been a principal engineer at the same company for three years now. The job I do today and the job I started in 2023 share a title and a level, and not much else. AI has reshaped both what I do and how I do it, and I've been meaning to write down what that actually looks like from inside the role rather than the version you read about in productivity reports.
Read More
Posted on Wednesday April 29, 2026
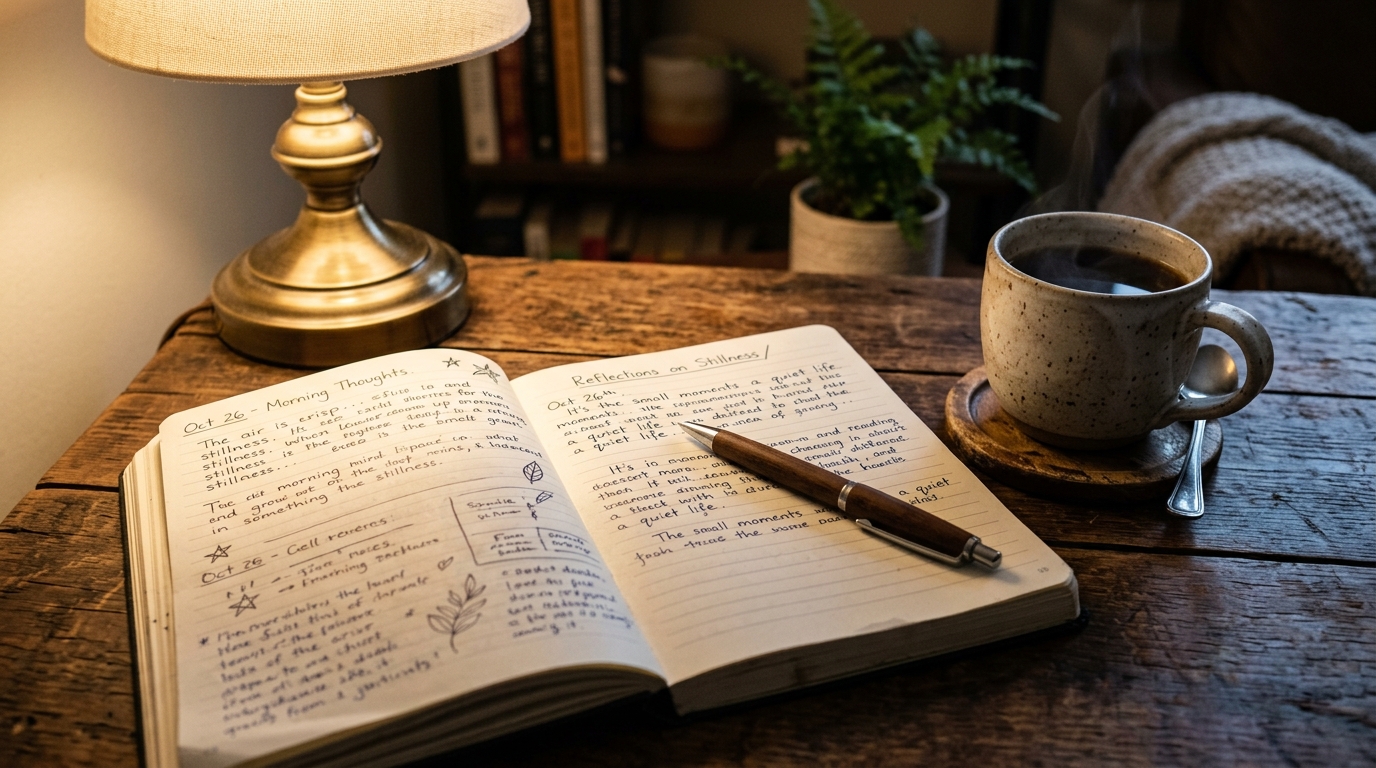
I've been working on a little side project called Journal for several years - a simple web-based journalling application written in Go. After a long time in pre-release, I recently shipped v1.0, and wanted to write about what it is, what changed, and why I still think it's worth maintaining and growing.
Read More
Posted on Monday February 16, 2026

I flew to San Francisco for the Pragmatic Summit, leaving my family behind for a few days to discuss AI with some of the industry's most thoughtful voices on software engineering. With a young son at home, I found myself questioning whether it was worth it. Spoiler: it absolutely was.
Read More
Posted on Monday May 19, 2025

The last few months have seen a huge shift in the developer community: the advent of generative AI and the huge focus it now has within the technology industry. Everything now has "AI" in the title, and there are wild claims about agents replacing developers and performing the same tasks. But what is some of the reality behind it, and is it all just a load of hype?
Read More
Posted on Sunday May 11, 2025

Remember the days of table-based layouts, FTP deployments, and coding PHP in Notepad++? Before Git workflows, containerization, and AI-assisted coding, there was a simpler era of web development that shaped many of us. I've been a developer now for almost 20 years, but back when I was learning and practising my new skills, I was coding things in PHP on Windows machines—something I haven't done for a very long time, but remember very fondly. Given how dramatically the developer experience has transformed over the last few months with generative AI tools, never mind the past two decades, I wanted to revisit a slightly simpler time and see what development was really like back in 2005.
Read More
Posted on Tuesday January 28, 2025

2024 was a year where a lot changed - we welcomed our son into the world in June, and that brought an amazing and privileged opportunity to take the rest of the year off and spend it getting to know my son and looking after him until the New Year. Now that I've returned to work for almost 4 weeks, how am I feeling and how have my views on my day job changed?
Read More
Posted on Tuesday December 31, 2024
Posted on Saturday December 21, 2024

In an effort to prolong the life of my current home machine, I recently formatted it and set things up from the ground up, thinking carefully about what I needed to build some projects in the background. This documents exactly what I have in place, and why.
Read More
Posted on Tuesday November 12, 2024

Most of the world runs on one CMS (content management system) platform, Wordpress. It is convenient for those of us who don't know how to build a site from scratch, but for those who want a small, lightweight and simple-to-use blog or static website, there are a few other options out there. Rather than using Hugo, Next.js or a pre-packaged option, it's very easy to build a Markdown-to-HTML generator in Python and get it ready to deploy to a static site server or even AWS S3.
Read More
Posted on Friday August 30, 2024

After using Terraform to build my AWS infrastructure almost since I first started, for the last year ot so I've been trying my hand with AWS CDK instead, a different approach that has some interesting advantages over the traditional Terraform state model, not least by missing out the TF AWS provider!
Read More
